¶ Step 4: Biostock — The Maze
"Come, little runner. Let me lead you." — Durandal
Status: Completed
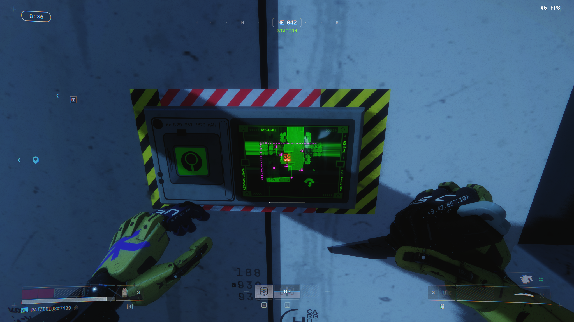
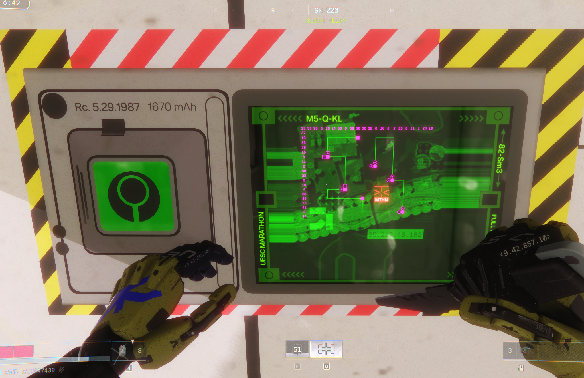
Step 4 unlocked after Steerage was completed. The Biostock Cryo Archive Page presents a navigable maze that required finding the correct arrow sequence.
¶ The Solution
U L R U R U R L U D R L R L L U R U
(U = Up, R = Right, L = Left, D = Down)
Or grouped: ULRURU RLUDRL RLLURU
¶ How The Maze Works
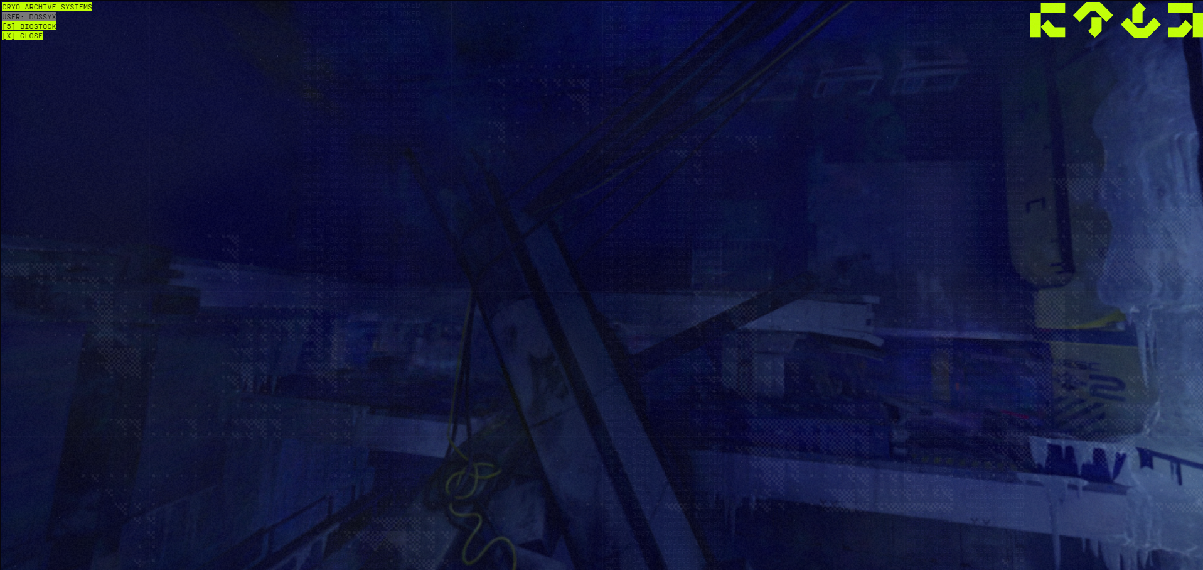
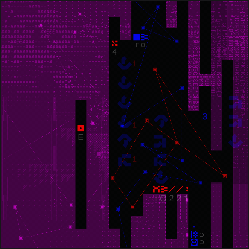
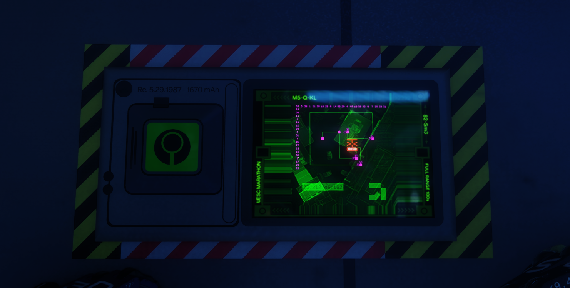
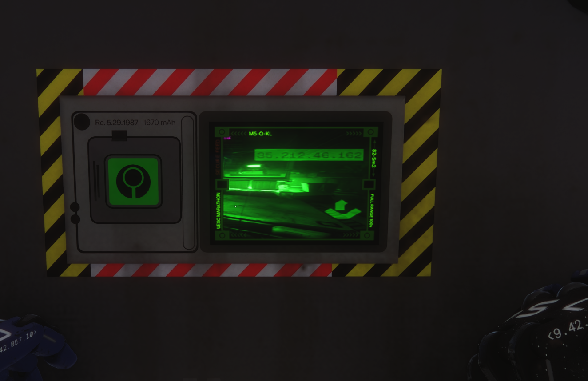
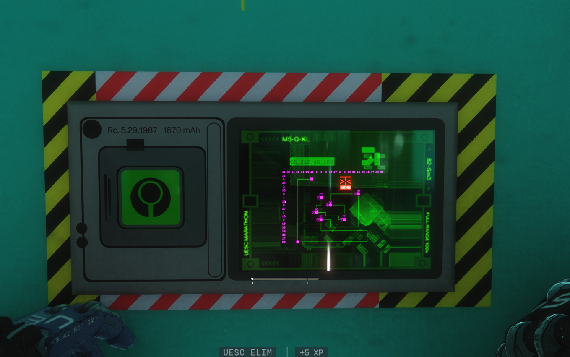
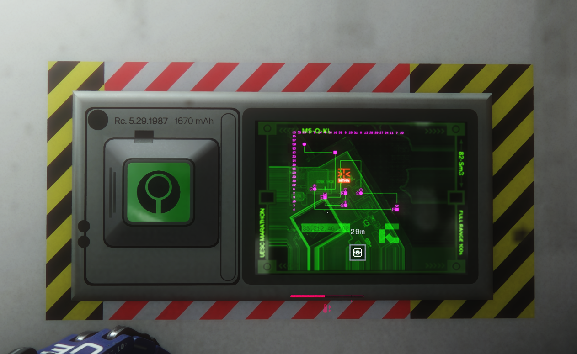
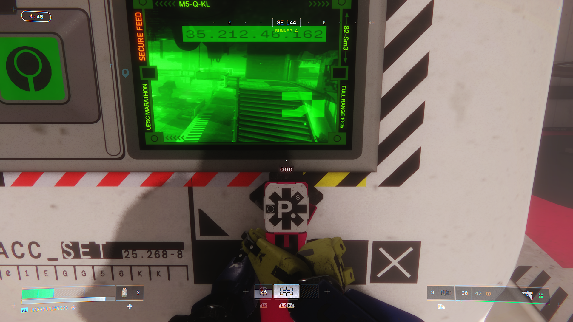
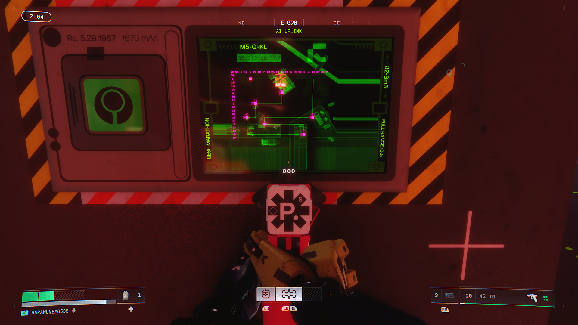
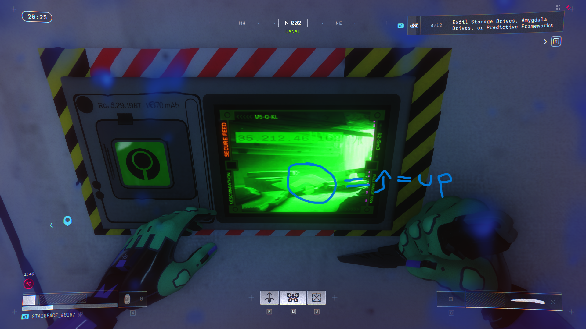
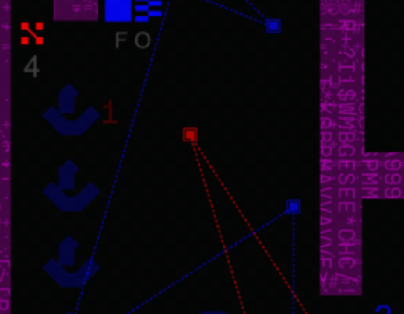
The page shows a Gaussian Splat map of a room seemingly in or around Biostock with directional arrows in the upper right corner.
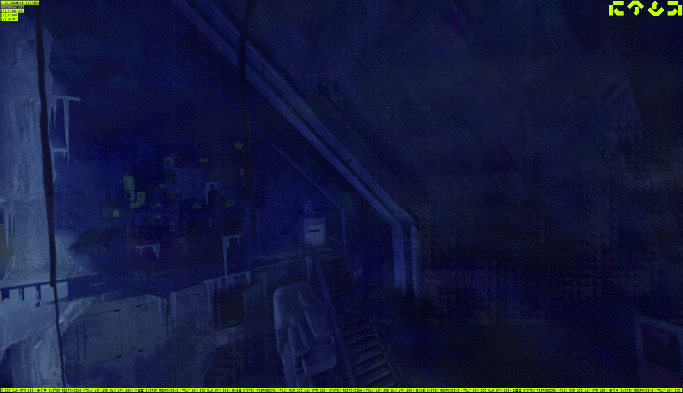
- Click arrows to navigate (or use arrow keys)
- Clicking sends a request to the server and updates the game state
- Press R to reset game state
- There is no limit to the number of inputs
- The actual "rooms" shown while navigating aren't specifically relevant — the arrow sequence is what matters
¶ How The Solution Was Found
¶ Step 1 - Index Entries — Steganographic Analysis
When Biostock unlocked, 12 new entries appeared in Index:
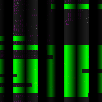
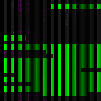
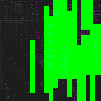
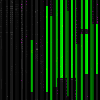
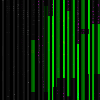
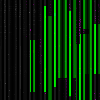
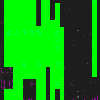
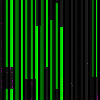
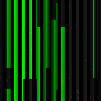
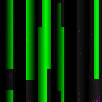
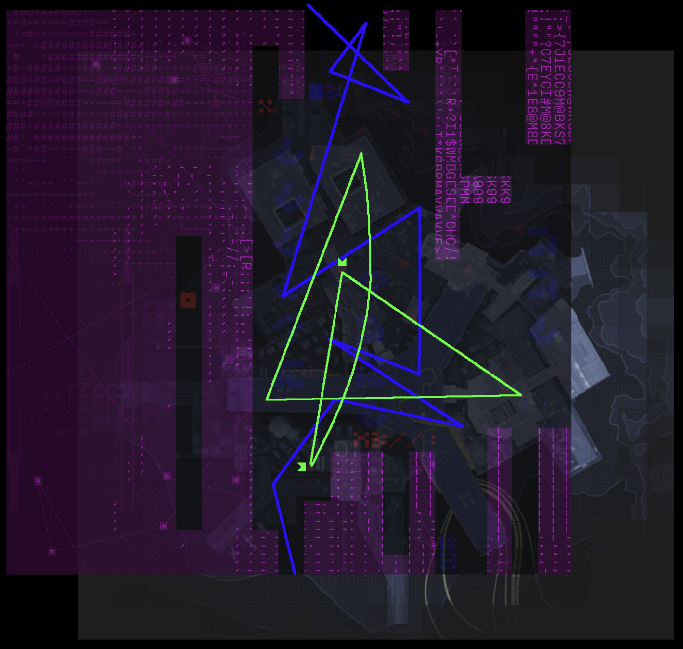
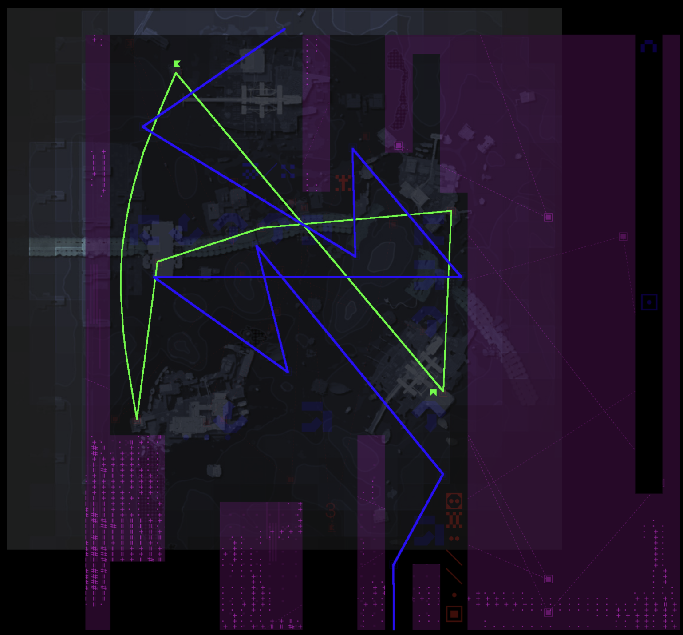
These entries contained steganographic data. By removing color layers from the RGB spectrum, hidden information was revealed; it should be noted, some additional coloration was added to some of these to aid in clue visibility(see pink/black variations)
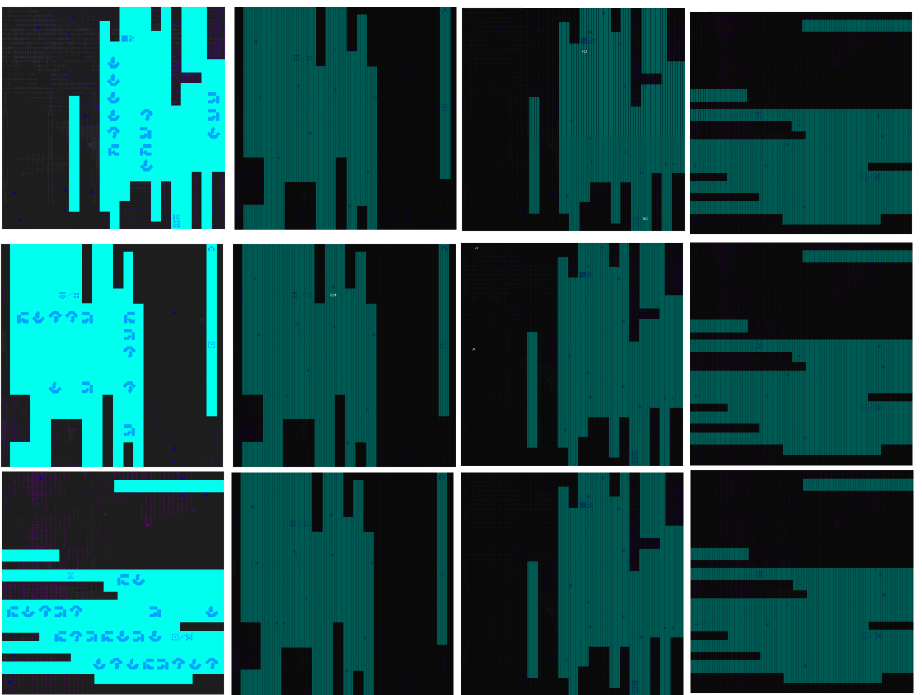
Analysis showed arrows (matching the Biostock interface), constellation patterns of different colors, and Marathon font symbols.
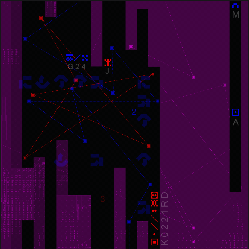
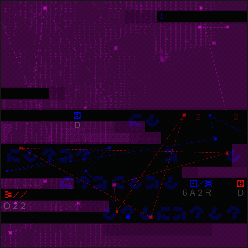
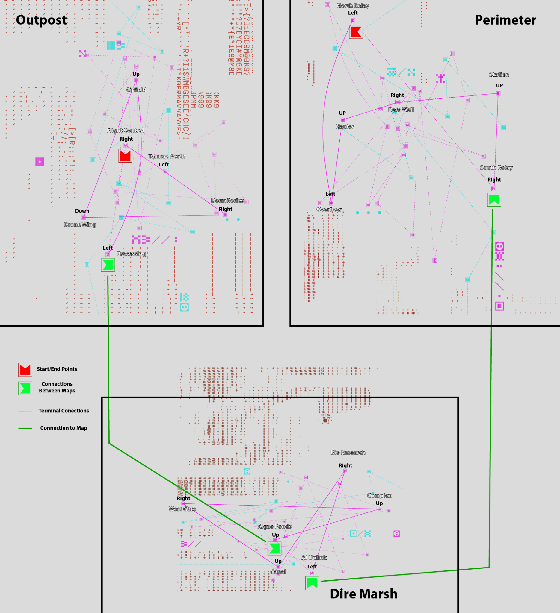
¶ Step 2 - Overlaying on Maps
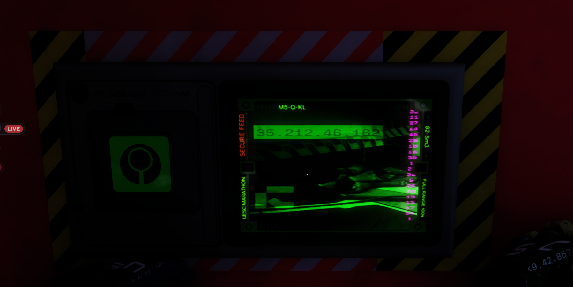
Users overlayed the revealed images onto in-game maps and discovered that lines behind the initial arrows symbology aligned with terminal locations:
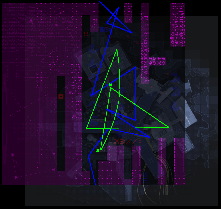
The lines matched terminal positions on each map:
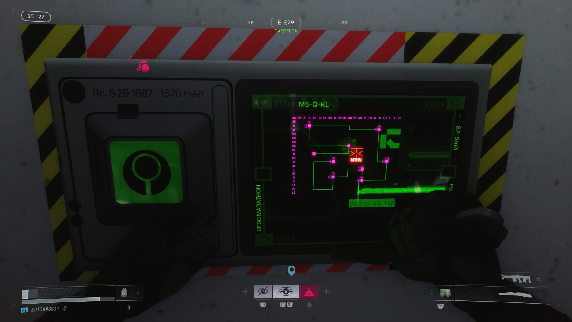
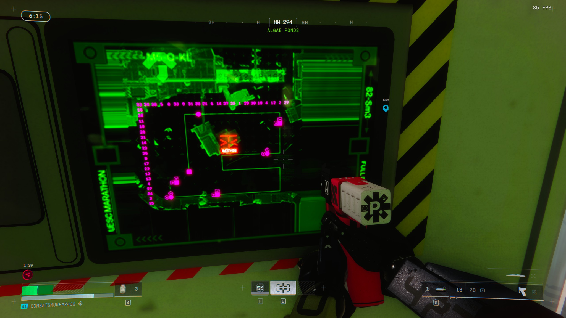
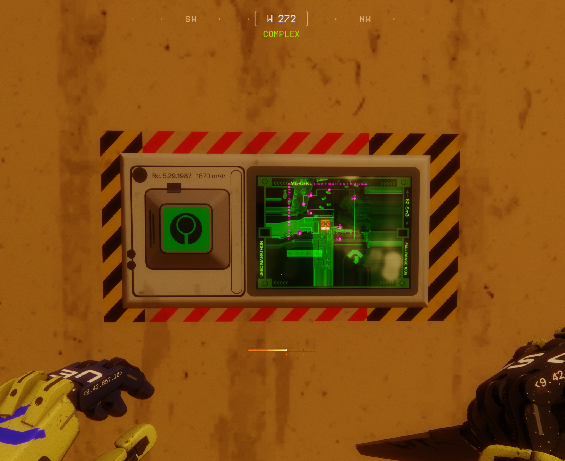
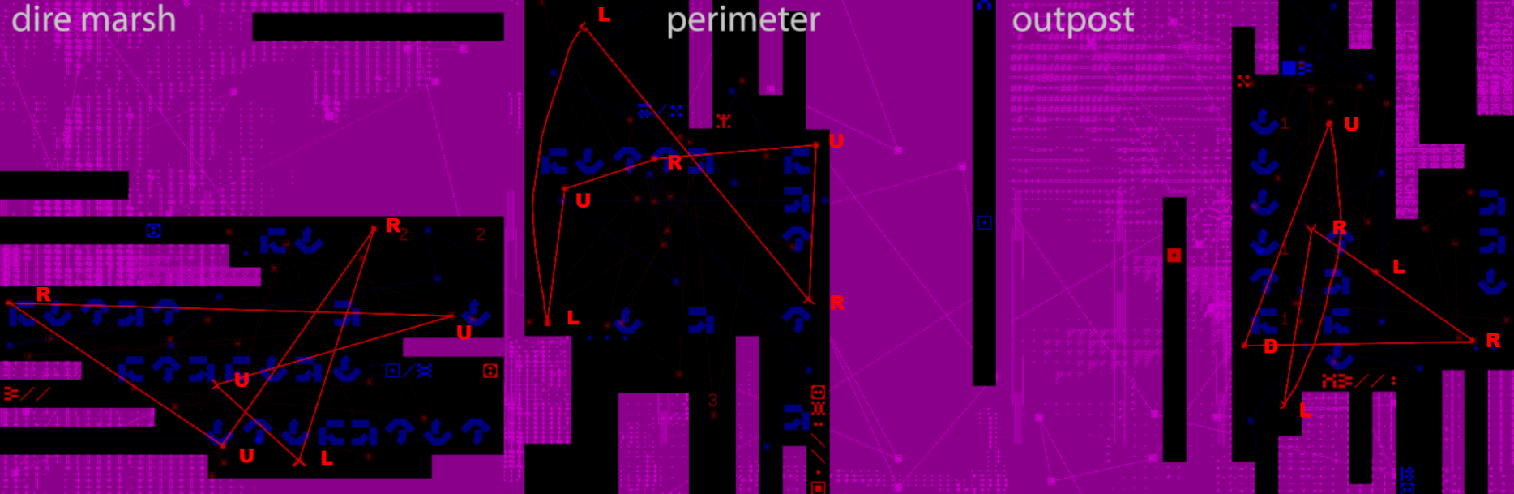
¶ Part 3 - Understanding Terminal Arrows
When the terminals updated for Steps 3 and 4, people noticed that in addition to the puzzle game provided for the solution to Step 3, arrows were present on the terminals at the time. The connection of these symbols was not made until the unlocking of biostock, where the terminals were revisited with the knowledge of the arrows after the Overlaying of the Maps had occured.
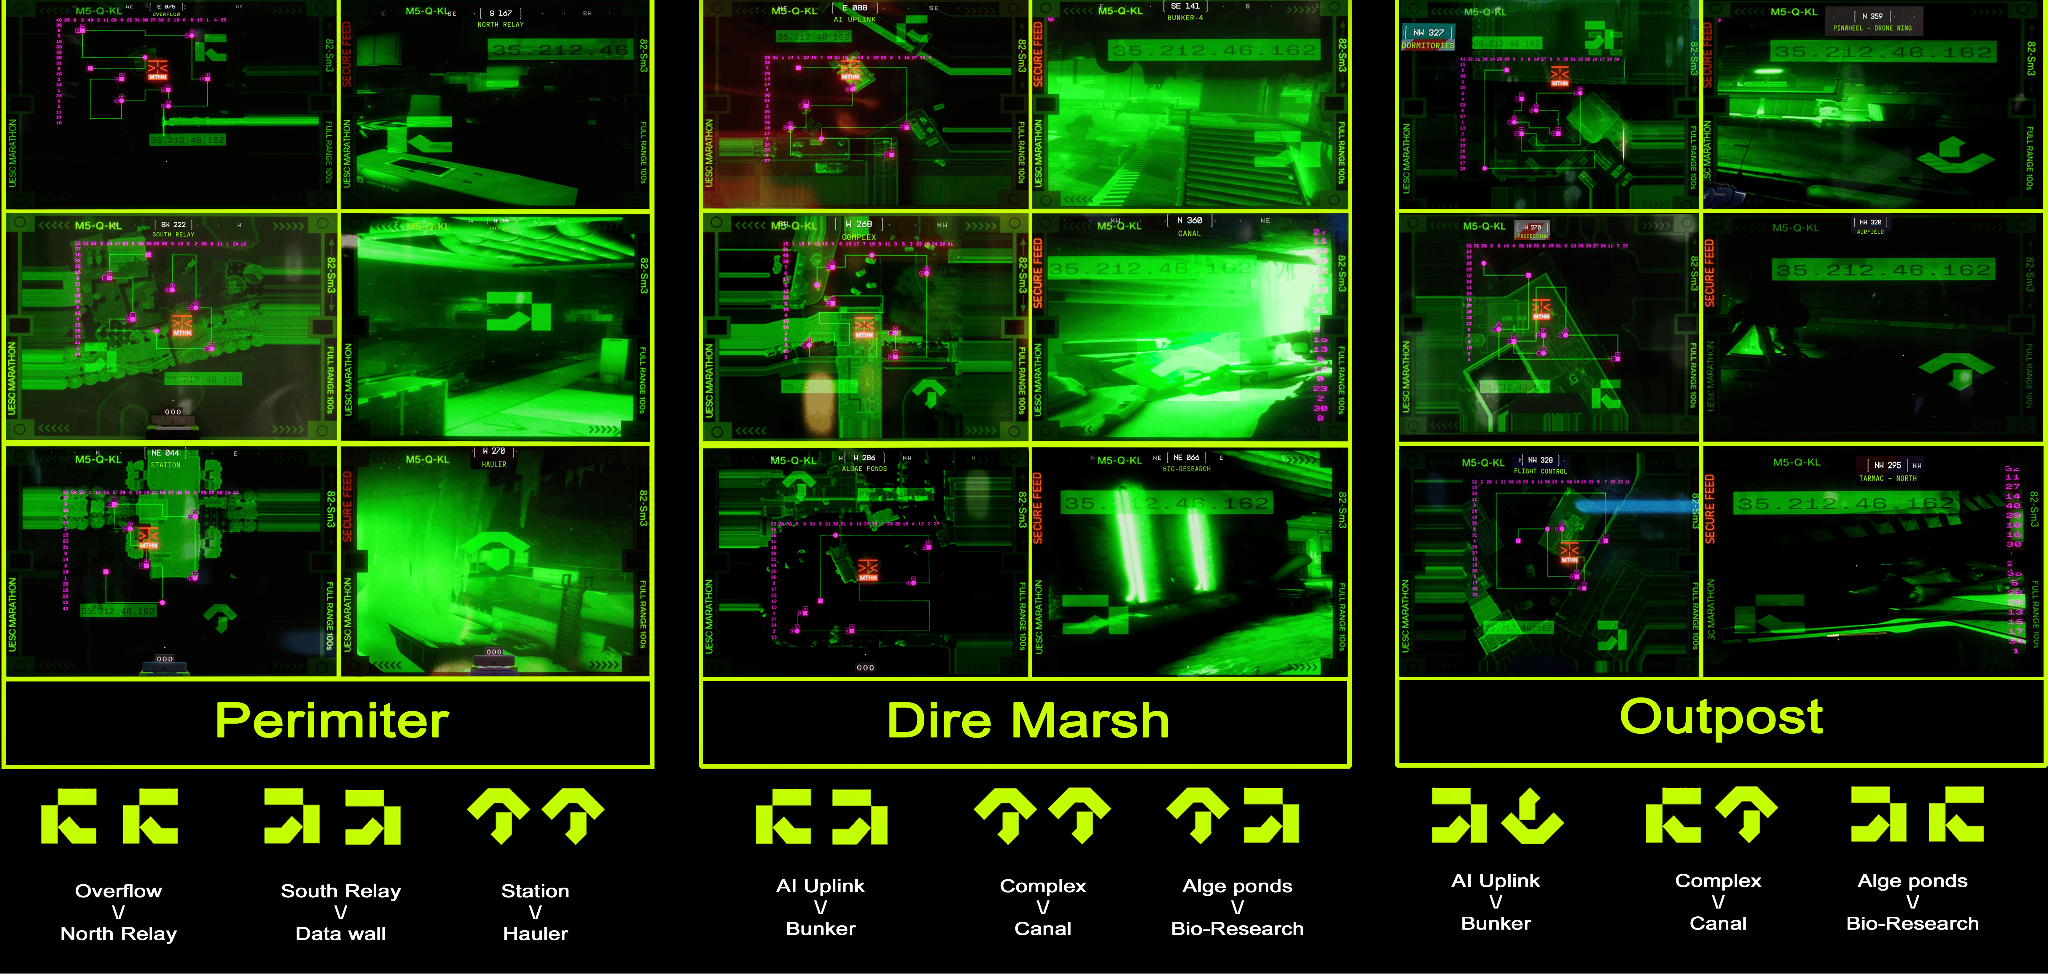
(Chart showing all terminals with arrows. Credit: @realpapi on Discord)
¶ Part 4 - Arrow Translations by Zone
¶ Perimeter
| Terminal Path | Arrow | Decoded Text |
|---|---|---|
| Overflow to North Relay | Left | GO DEAR VIOLENT ONE |
| South Relay to Data Wall | Right | BUT NOW LIES HAUNTED |
| Station to Hauler | Up | TO WHAT ONCE WAS HOME |
¶ Dire Marsh
| Terminal Path | Arrow | Decoded Text |
|---|---|---|
| AI Uplink to West Gate | Right | WITH PAIN AND FURY |
| Complex to Canal | Up | STRIKE THE STONE |
| Ponds to Bio Research | Right | UNTIL ITS SECRETS BREAK |
¶ Outpost
| Terminal Path | Arrow | Decoded Text |
|---|---|---|
| Dormitories to Drone Wing | Down | UNTOLD FUTURES HIDE |
| Processing to Airfield | Up | WITH SILENT RAGE |
| Flight to North Tarmac | Left | UPON THESE ALIEN SHORES |
¶ All Terminal Arrow Screenshots
Outpost:
Perimeter:
Dire Marsh:
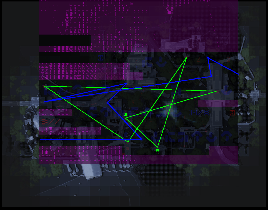
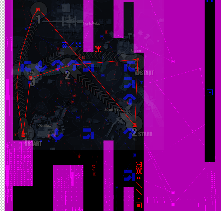
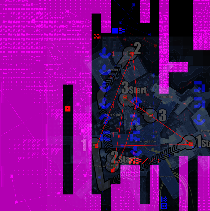
¶ Node Alignment
By aligning nodes from training data (after compositing all copies with green channels removed) with terminal positions on each map:
Dire Marsh:
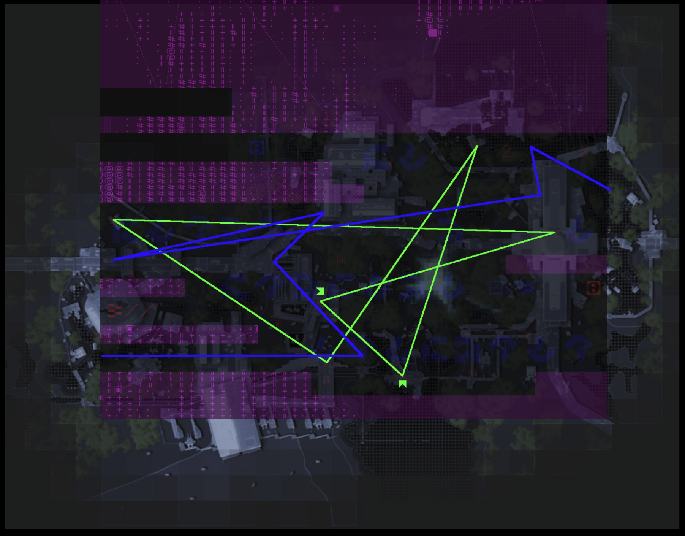
Outpost:
Perimeter:
¶ Compiled Analysis and Theories
(Compiled scanline images, marked with arrow positions corresponding to terminals when overlayed on zone maps. Credit: @splishevsky on Discord)
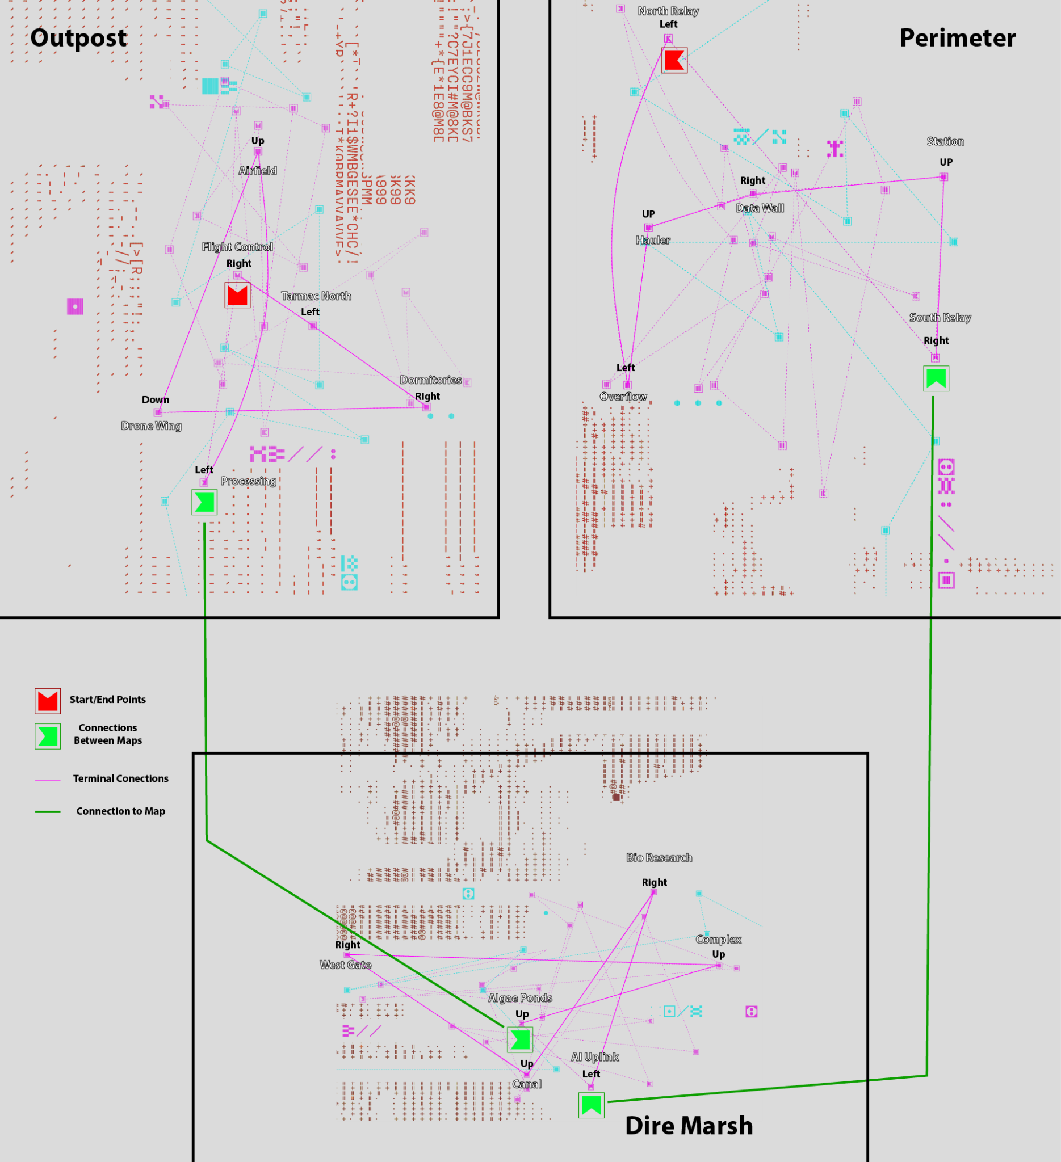
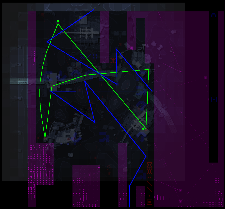
(Highest quality compiled image — maps labeled, terminals labeled with corresponding arrows. Credit: @patrick_duh on Discord. Note: connecting lines between chevrons were part of a now-disproven theory.)
¶ Chevron Connection Theory - Partially correct, but overall assuption proved wrong
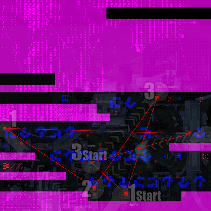
Small numbers in each steganographic image determined map order in the sequence:
A chevron icon on each image corresponded with a chevron on another image, suggesting a connected path:
what we do know now is that the chevrons did denote the order in which you should cycle in the arrows based on asigned terminals, but the idea of each chevron connected across maps was infact incorrect and there wasnt any significant correlation. It should be noted that not only in the Breachers of Tomorrow discord but across a large majority of the ARG community, this came as a suprise once the solution was brute forced and reverse engineered.
¶ Brute Force
The maze was ultimately solved by running through combinations provided by the community, using a web tool created for the task.
(Credit: @nfd.moe and @boc_ on Discord for the bot and backend scripts respectively)
Solving the maze displayed "ACC: GRANTED" and played a video:
biostock.mp4
¶ Conclusion
The conclusion of the ARG involved the community determining the answer via the brute force method and then reverse engineering the proposed method of solving the puzzle. This included refrences to the answer and determining into 3 chunks the related arrow pairs from each terminal. He we discovered that the chevrons did not connect between each map, but rather that the chevron cut-out actually determined the starting key-phrases of each pattern. When combined properly, you had a repeating chevron pattern with its associated arrows which matched the solution.